Why Professional Window Film Installation Beats DIY Every Time
I get it. You've watched a few YouTube videos, you've seen window film kits at the hardware store, and you're thinking, "How hard can it be?" I'm not going to talk you out of being handy — I respect that mindset. But after more than a decade of installing residential window film professionally, and after fixing more DIY attempts than I can count, I want to give you the full picture before you grab a spray bottle and a utility knife.
Window film installation looks simple on camera. In practice, it's one of those jobs where the difference between good and bad shows up immediately — and stays visible for years. Here's what I've learned about why professional installation consistently outperforms the DIY approach.
The Film You Can Buy at the Store Isn't the Same Film We Install
This is probably the biggest misconception in our industry. The window film available at home improvement stores is not the same product that professional installers use. It's a completely different tier of material. Store-bought films are typically dyed polyester — they'll darken your windows, sure, but they offer minimal heat rejection and tend to fade, bubble, and discolor within a few years.
The films we install from 3M and SolarGard use advanced ceramic and spectrally selective technology. They're engineered to reject specific wavelengths of infrared energy while maintaining clarity and appearance. The 3M Prestige Series, for example, contains over 200 layers of nanotechnology in a film that's thinner than a sticky note. That kind of engineering isn't available in a box at the hardware store.
There's also a significant difference in durability. Professional-grade films come with manufacturer warranties that can last 15 years or more — but only when installed by a certified installer. Buy the DIY version and you're on your own if something goes wrong. And in Florida's intense sun and humidity, things go wrong with inferior film faster than you'd expect.
Preparation Is Where Most DIY Jobs Go Wrong
Before a single inch of film touches glass, there's a preparation process that makes or breaks the installation. The glass has to be cleaned to a level that goes well beyond what most people consider "clean." Any dust particle, fiber, or residue trapped under the film becomes a permanent blemish — a tiny bump or bubble that catches light and drives you crazy every time you look at it.
We use a multi-step cleaning process with specialized solutions that strip the glass of all contaminants, including the invisible residue left by household glass cleaners. We work in conditions that minimize airborne dust. We inspect the glass for scratches, chips, and seal failures before we start, because applying film over damaged glass can void warranties and create bigger problems down the road.
Most DIY installers clean the window with Windex and a paper towel and call it good. Within a week, they're staring at dozens of tiny particles trapped under the film, wondering what went wrong. I've seen homeowners pull off their DIY film after just a few months because the contamination was so distracting.
The other preparation step that gets overlooked is measuring and cutting. Professional film is cut precisely to fit each window, accounting for the gasket, frame edges, and any irregularities in the glass. We use computerized cutting systems for standard sizes and hand-cut custom fits for unusual windows. A cut that's off by even a fraction of an inch leaves a visible gap or an edge that wants to peel.
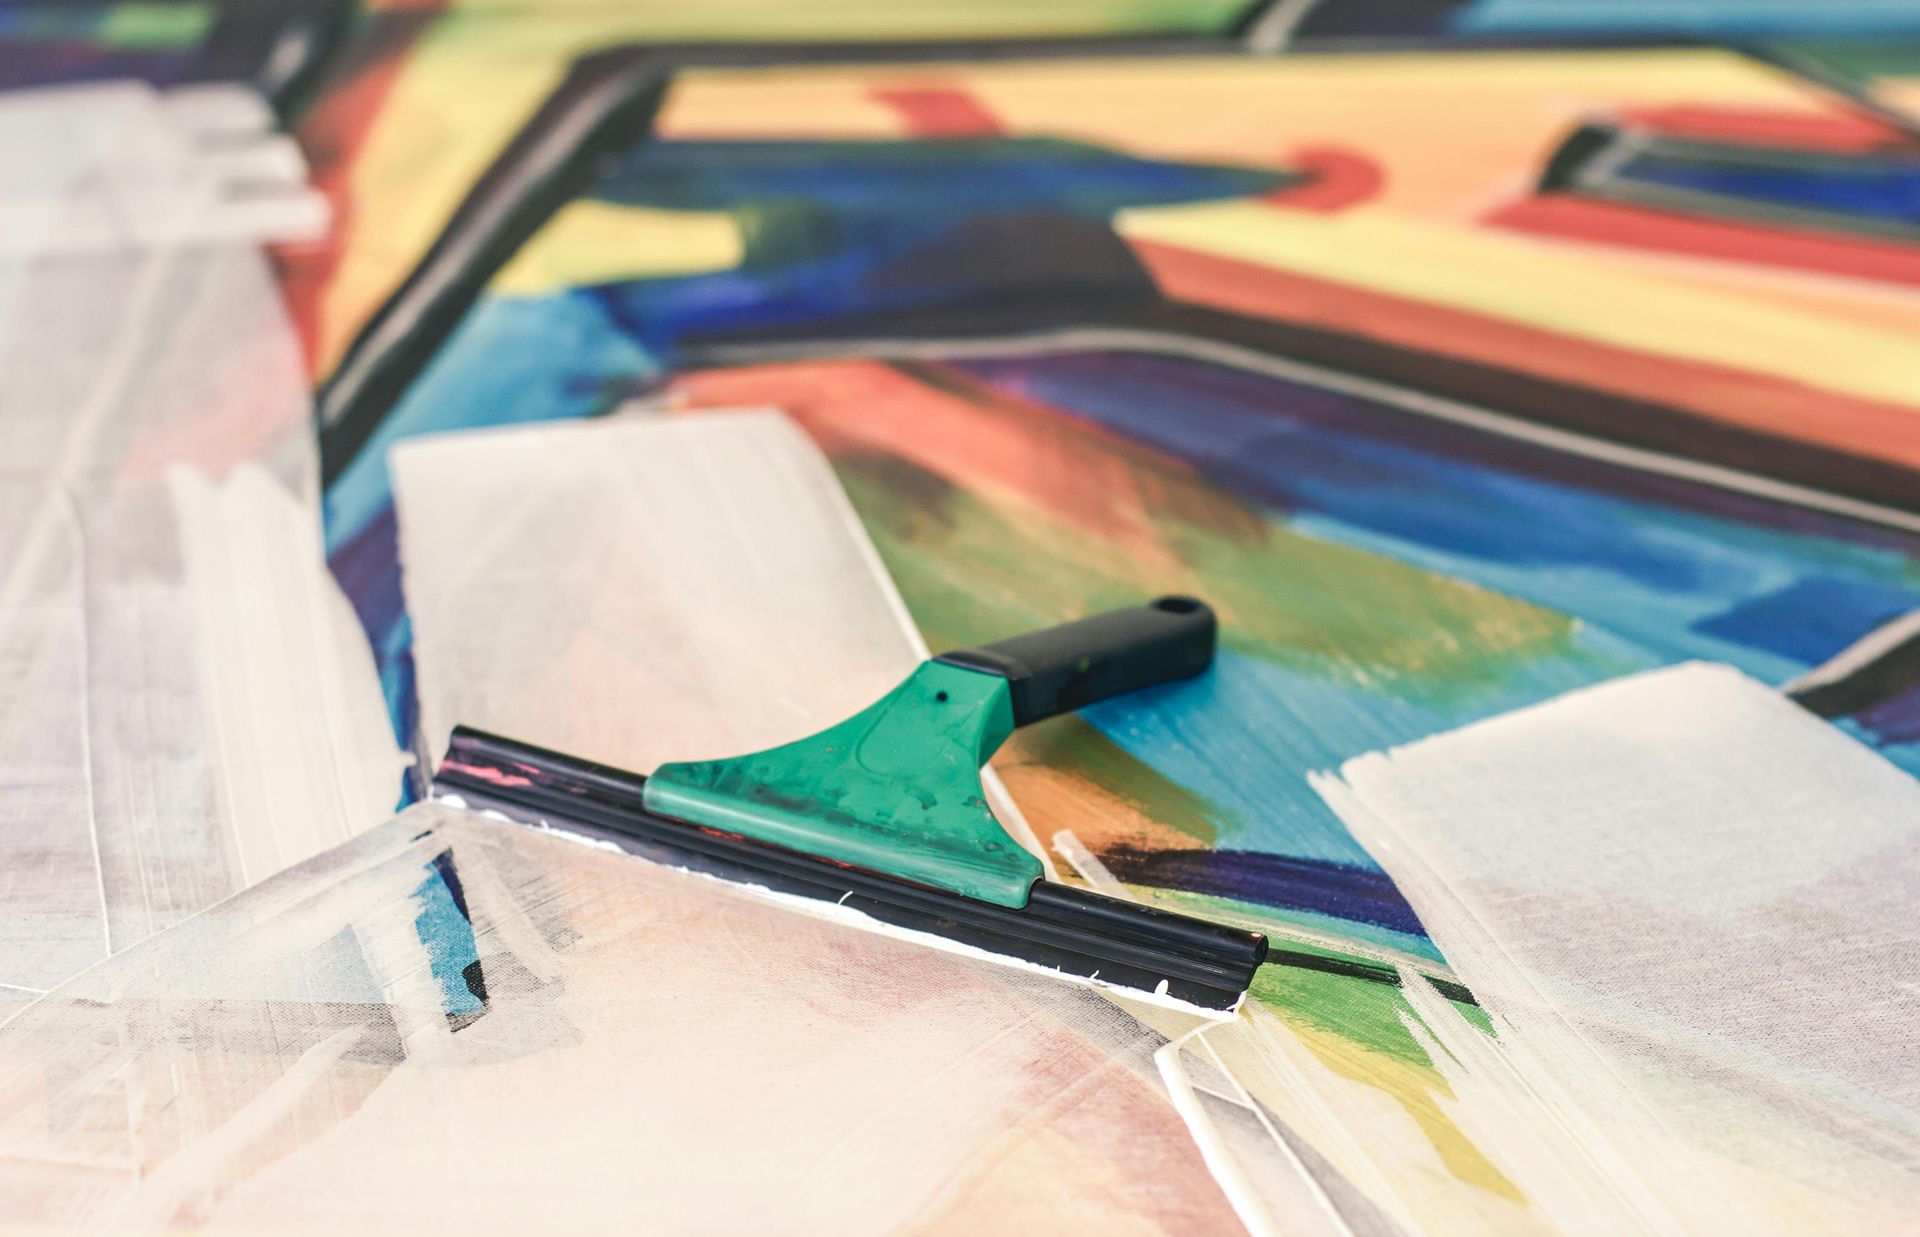
The Installation Technique Takes Years to Master
Applying window film is a wet process. You spray a solution on the glass, position the film, and then use a squeegee to push the solution out from under the film while simultaneously positioning it perfectly and removing air bubbles. You get one shot at this. If the film wrinkles, folds over on itself, or shifts out of position, you often can't fix it — you have to start over with a new piece of film.
The squeegee technique alone takes months to develop. Too much pressure and you stretch the film or push it out of alignment. Too little and you leave solution pockets that turn into bubbles. The angle, speed, and overlap pattern all matter. On large windows — which are common in Florida homes — you're working with a piece of film that can be six feet tall and four feet wide. Handling that much material while maintaining precision is genuinely difficult.
Then there are the edges. Getting film to lay perfectly flush against a window gasket without lifting, curling, or creating a visible gap requires a specific technique that we've refined over thousands of installations. It's the detail that separates a professional job from an amateur one, and it's the first thing that fails on a DIY installation — edges start peeling within weeks.
I've been doing this for years and I still encounter windows that challenge me. Every home has its quirks — old windows with uneven frames, oversized panes that require seamless splicing, textured glass that demands a different approach. Experience is what allows us to handle those situations without compromising the result.
What a Failed DIY Installation Actually Costs You
Here's the part that doesn't get mentioned in the YouTube tutorials. When a DIY installation goes wrong — and it usually does on at least a few windows — you've wasted the cost of the film, the cost of the tools, and several hours of your weekend. But it gets worse. Removing failed film from glass is tedious, messy work. The adhesive doesn't come off easily, and if you use the wrong removal method, you can scratch the glass permanently.
I've had customers call me to fix DIY installations where the adhesive residue was so stubborn that it took us longer to clean the glass than it would have taken to do the original installation from scratch. That's money and time spent just getting back to square one. And on a few occasions, the homeowner had scratched the glass trying to scrape off the old adhesive, which meant they were looking at glass replacement costs on top of the new film installation.
When you add up the cost of the DIY film, the tools, the removal supplies, and the eventual professional installation, many homeowners end up spending more than they would have if they'd just called us in the first place. And they went through a lot of frustration to get there.
The Warranty Matters More Than You Think
One of the biggest advantages of professional installation is the warranty. When we install 3M or SolarGard film, it comes with a manufacturer's warranty that covers defects in the film itself — things like bubbling, peeling, cracking, discoloration, and delamination. These warranties can last 15 years or longer for residential applications, and they're transferable if you sell your home.

But here's the catch: those warranties are only valid when the film is installed by a certified professional. Install the same film yourself, and the manufacturer won't stand behind it. That's not a marketing gimmick — it's because improper installation is the number one cause of film failure. The manufacturers know that, and they're not willing to warranty a product that wasn't installed to their standards.
In Florida's climate, where film is exposed to intense UV, extreme heat, and humidity year-round, having a strong warranty is essential. If something goes wrong five or ten years down the road, you want to know you're covered. Our customers have that peace of mind because they chose professional installation from a certified team.
What Professional Installation Actually Looks Like
When we show up to install window film at your home, the process is thorough but efficient. We start with a walk-through to confirm which windows are being treated and discuss any concerns. Then we protect your floors, furniture, and window treatments from overspray. We clean each window using our professional process, cut the film precisely, and install it one window at a time with careful attention to fit, alignment, and finish.
Most residential installations are completed in a single day, and you can use your rooms normally almost immediately. There's a brief curing period where you might notice some haziness or small water pockets — that's completely normal and clears up within a couple of weeks as the remaining moisture evaporates. After that, the film is crystal clear and permanently bonded to the glass.
We do a final inspection of every window before we leave, checking edges, looking for any imperfections, and making sure you're completely satisfied with the result. If anything isn't perfect, we address it on the spot. That level of accountability is something you simply can't get with a DIY project.
Ready to Get It Done Right the First Time?
I understand the appeal of doing things yourself — I'm a hands-on person too. But window film is one of those jobs where the investment in professional installation pays for itself in quality, longevity, and peace of mind. You'll get better film, a flawless finish, a manufacturer warranty, and results that look great for years instead of months.
Call us at (904) 580-7860 or request your free estimate online. As 3M and SolarGard Certified Installers, we serve homeowners throughout St. Augustine, Jacksonville, Palm Coast, Ponte Vedra Beach, and all of Northeast Florida. Let's do it right the first time.